Welcome to the BrainScaleS-2 Tutorial
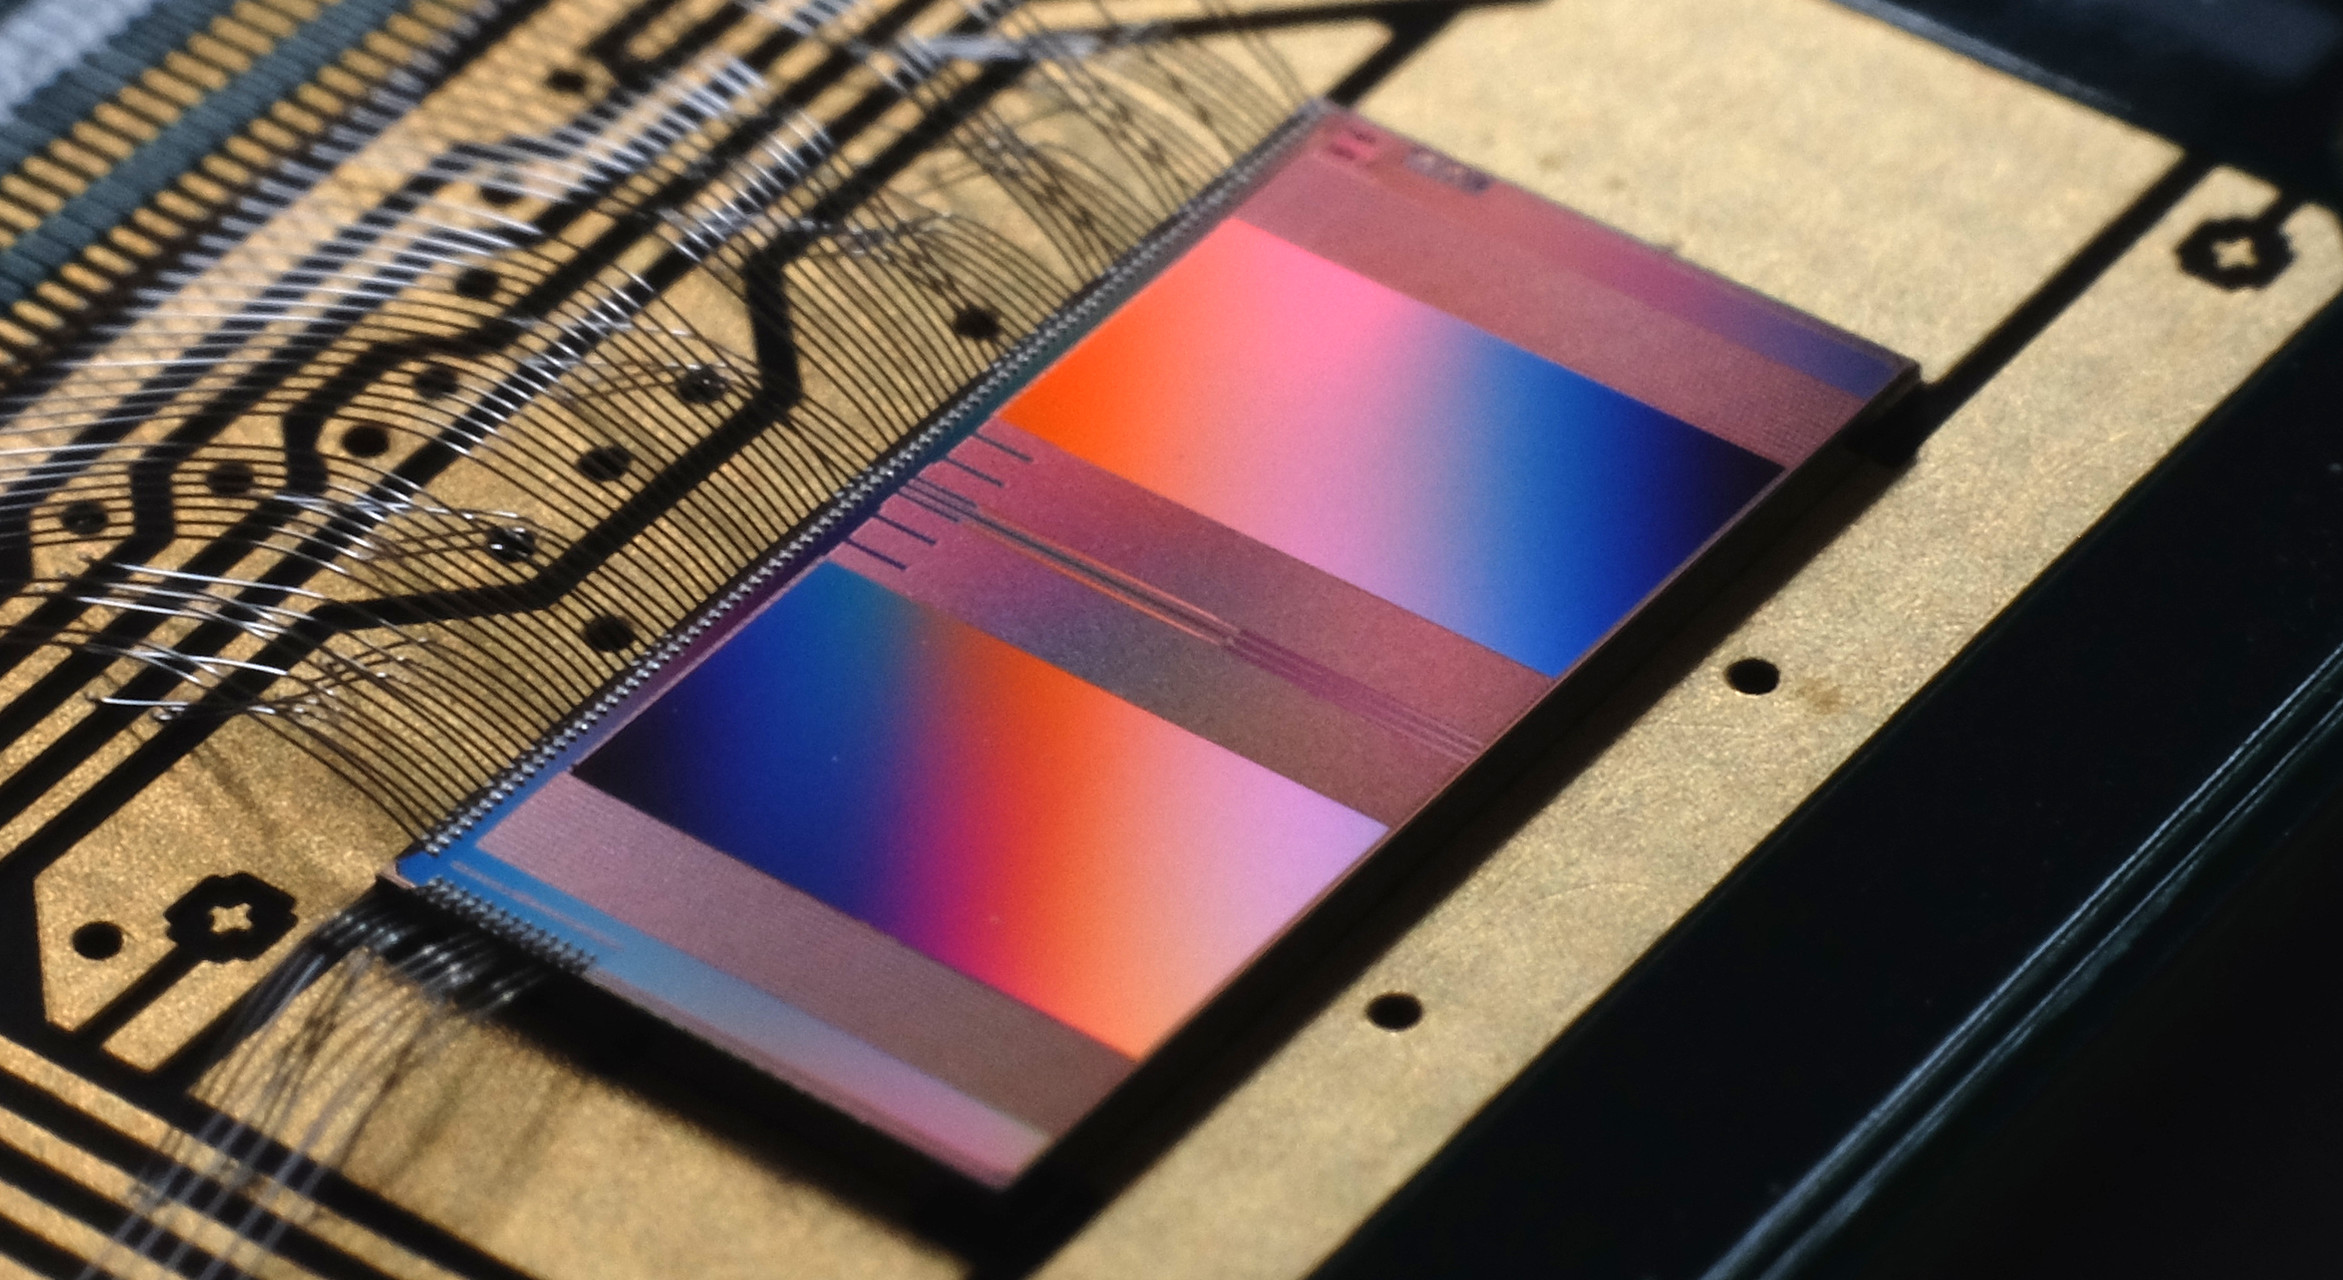
Hello and welcome to this tutorial that will interactively guide you through your first experiments on the BrainScaleS-2 system!
You will learn the basic tools for running experiments on the BrainScaleS-2 platform. For inspiration, please refer to the following list for examples of previous scientific work done on the system:
Versatile emulation of spiking neural networks on an accelerated neuromorphic substrate
hxtorch: PyTorch for BrainScaleS-2 – Perceptrons on Analog Neuromorphic Hardware
Control of criticality and computation in spiking neuromorphic networks with plasticity
Demonstrating Advantages of Neuromorphic Computation: A Pilot Study
Fast and energy-efficient neuromorphic deep learning with first-spike times
Inference with Artificial Neural Networks on Analog Neuromorphic Hardware
Structural plasticity on an accelerated analog neuromorphic hardware system
Emulating dendritic computing paradigms on analog neuromorphic hardware
The BrainScaleS-2 Accelerated Neuromorphic System With Hybrid Plasticity
hxtorch.snn: Machine-learning-inspired Spiking Neural Network Modeling on BrainScaleS-2
An accurate and flexible analog emulation of AdEx neuron dynamics in silicon
Spiking Neural Network Nonlinear Demapping on Neuromorphic Hardware for IM/DD Optical Communication
Simulation-based inference for model parameterization on analog neuromorphic hardware
In this session, we will cover the following topics:
- BrainScaleS-2 single neuron experiments
- Learning with the SuperSpike rule
- BrainScaleS-2 on-chip plasticity experiment
- Multicompartmental Neurons
- How to use Genetic Algorithms to automatically parameterize BrainScaleS-2
- Training an SNN on BrainScaleS-2 with PyTorch
- Exploring the dynamic range
- Pong
- Complex Neuron Dynamics with a Silicon Adaptive Exponential Integrate-and-Fire Neuron
- Demonstration of inside realtime hook
- Demonstration of multiple chip-reconfigurations during an experiment
- BrainScaleS-2 on-chip plasticity experiment
- hxtorch.snn Introduction
- Partitioning of Feedforward SNNs
- Introduction to matrix multiplication
- Exploring the analog MAC operation
- Train DNNs on BrainScaleS-2
- Introduction to the non-interactive queue runner
In this section of the tutorial, we will go through the technical details and make sure that you are correctly set up for accessing our hardware resources.
Executing the Notebooks
If you want to execute the notebooks yourself, you can clone them from our github repository and execute them on the EBRAINS Platform. Simply use an existing collabatory or create a new one in which you can clone the notebooks, e.g., via:
!git clone https://github.com/electronicvisions/brainscales2-demos.git --branch jupyter-notebooks-experimental
in a notebook of your JupyterLab session.
To be able to use the EBRAINS software environment for your notebook, please select the EBRAINS-experimental kernel.
The currently used kernel is shown in the status line at the bottom of the notebook and in the upper right hand corner of the notebook. The default is Python 3 (ipykernel), which does not have the EBRAINS software environment installed. To select a different kernel, please klick the kernel name, then select from the appearing list.
Shared Hardware Resources
We utilize the intrinsic speed of the system to offer you an interactive experience that is as smooth as possible even though multiple participants will access the same chip at any given point in time.
This process is hidden by a custom microscheduler (quiggeldy), a conceptual view of which you can see in the following figure. The actual hardware execution time has been colored in blue.
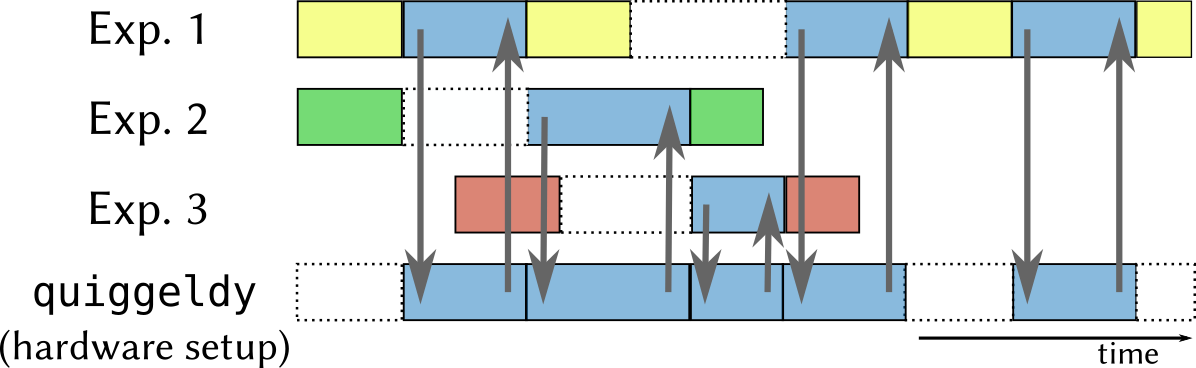
Please note that the hardware performance you will experience is affected by other users in this tutorial and can not be perceived as an accurate representation of the expected performance for single-user workloads.
For the microscheduler to work we have to set some environment variables:
from _static.common.helpers import setup_hardware_client
setup_hardware_client()
Final test: Hardware Execution
Before we start with the actual tutorial, we’d like to ensure that you are correctly set up for running experiments on the BrainScaleS-2 platform. To do so, simply run the following minimal PyNN-experiment. It should terminate without errors.
import pynn_brainscales.brainscales2 as pynn

pynn.setup()
neurons_1 = pynn.Population(2, pynn.cells.HXNeuron())
neurons_2 = pynn.Population(3, pynn.cells.HXNeuron())
pynn.Projection(neurons_1, neurons_2, pynn.AllToAllConnector())
pynn.run(0.2)
pynn.end()